
Last updated November 4, 2026
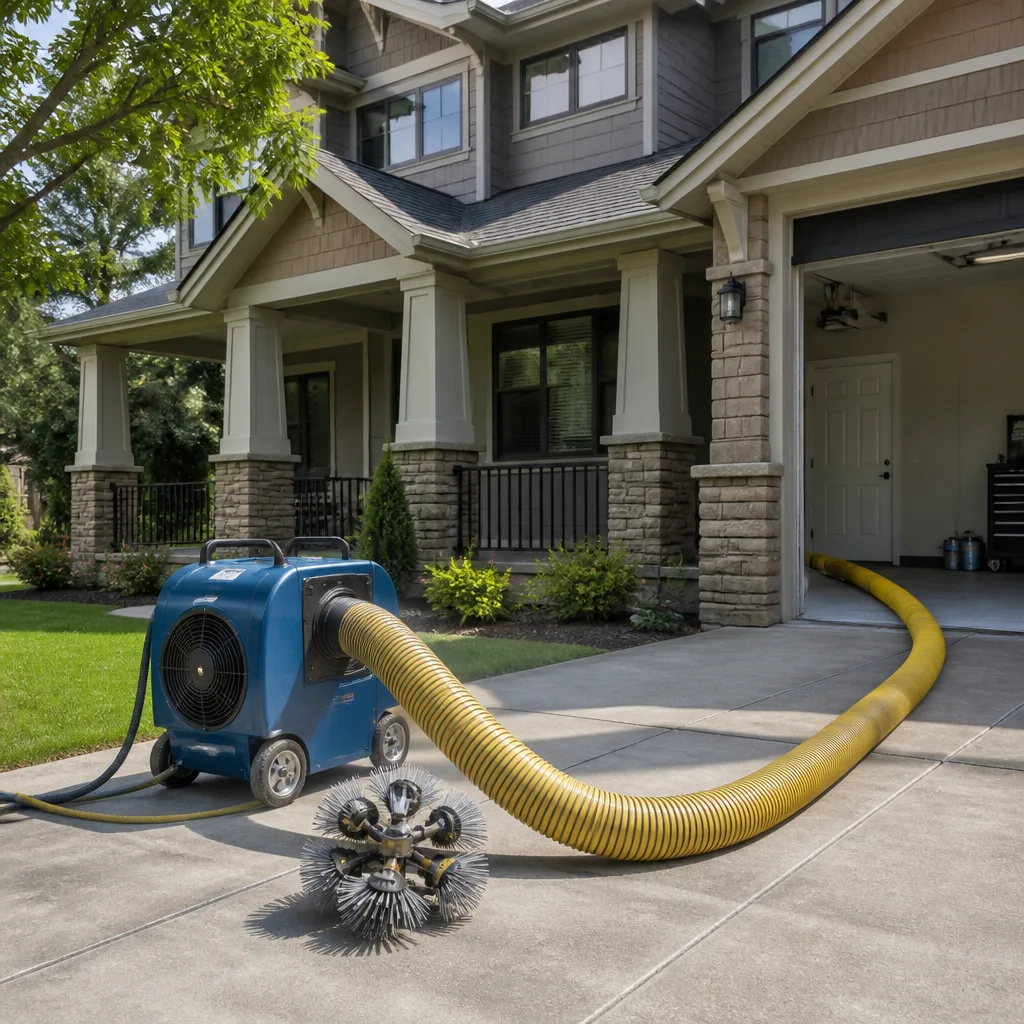 Whole-home duct cleaning
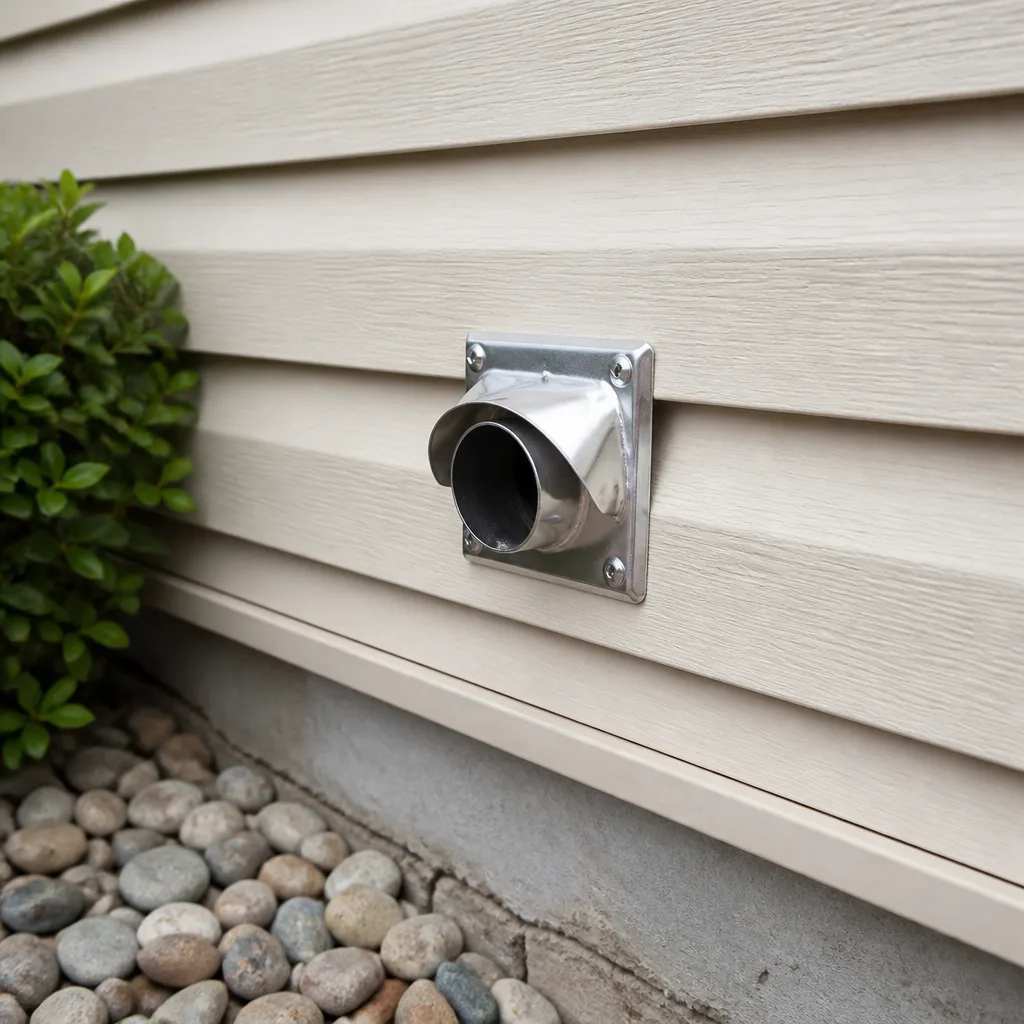 Dryer vent cleaning
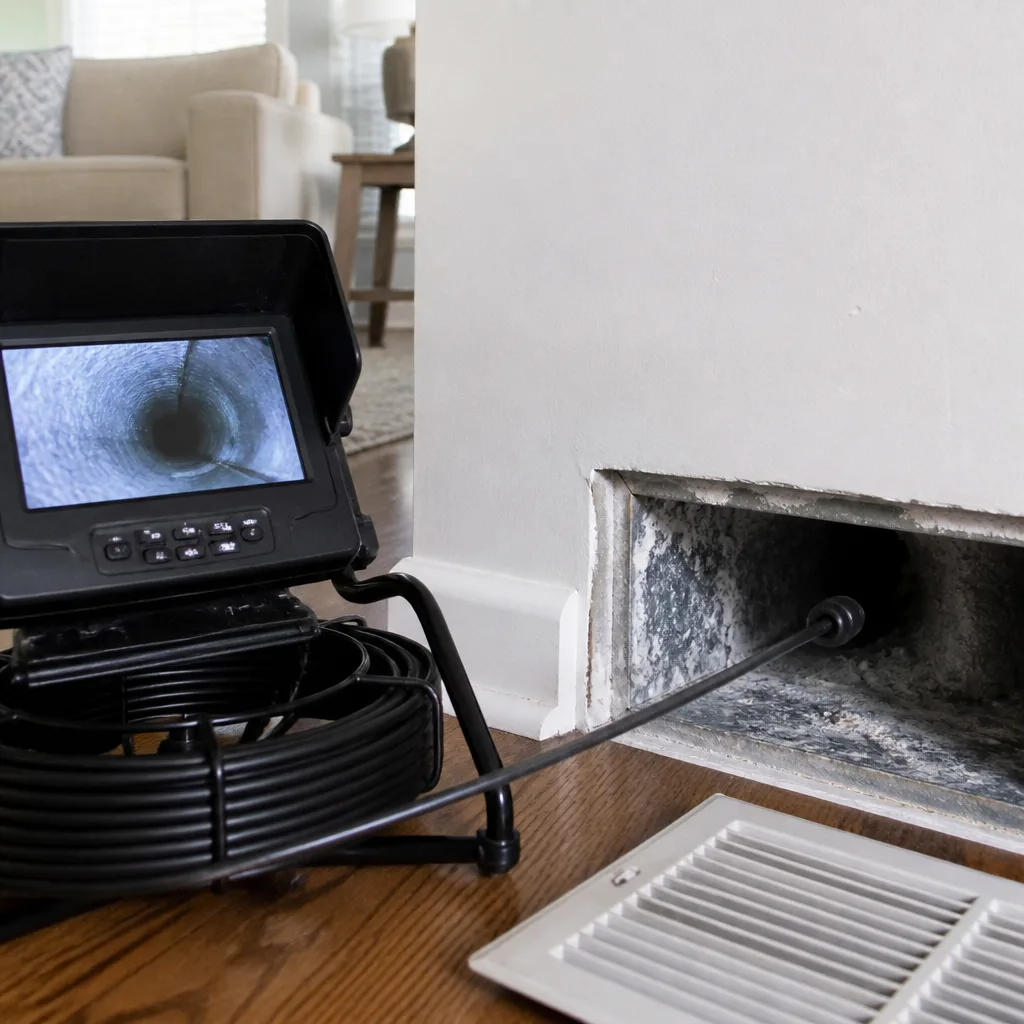 Camera inspection
 Sanitizing & deodorizing
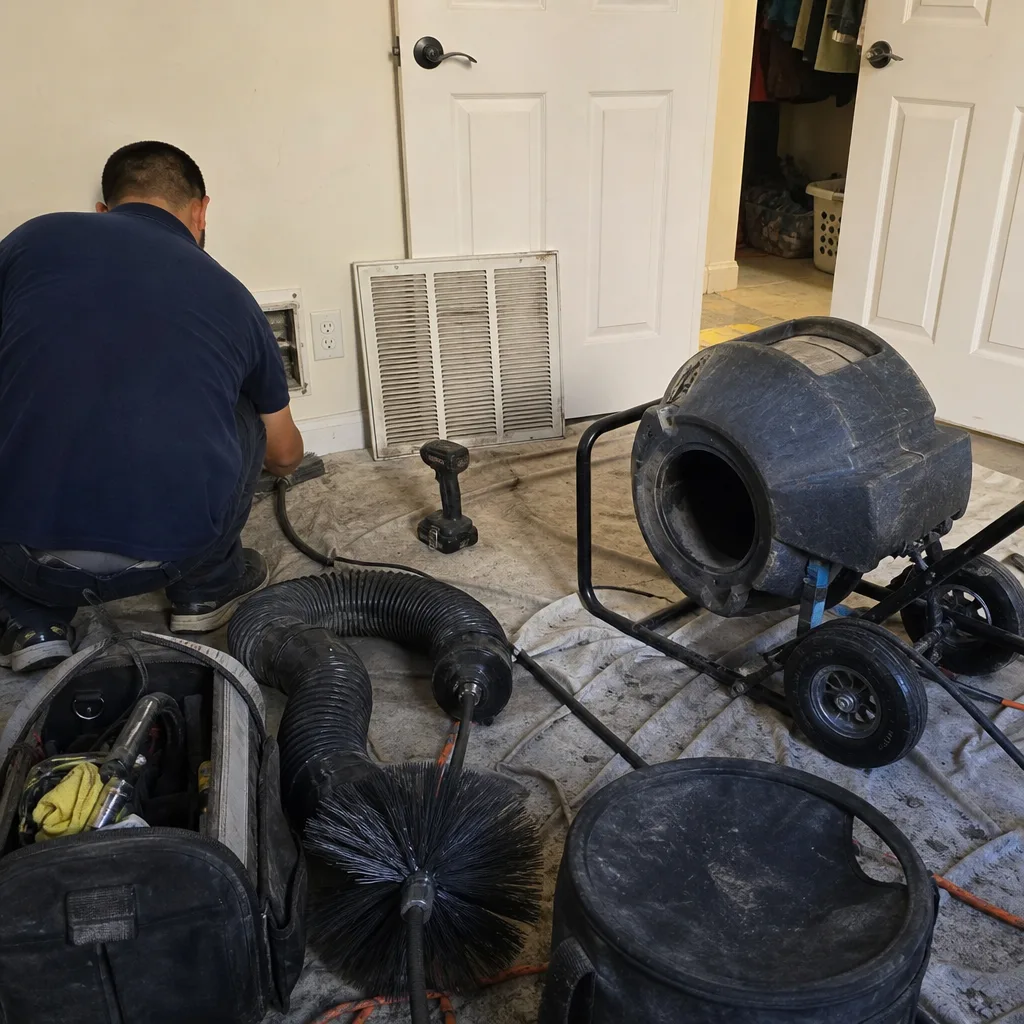
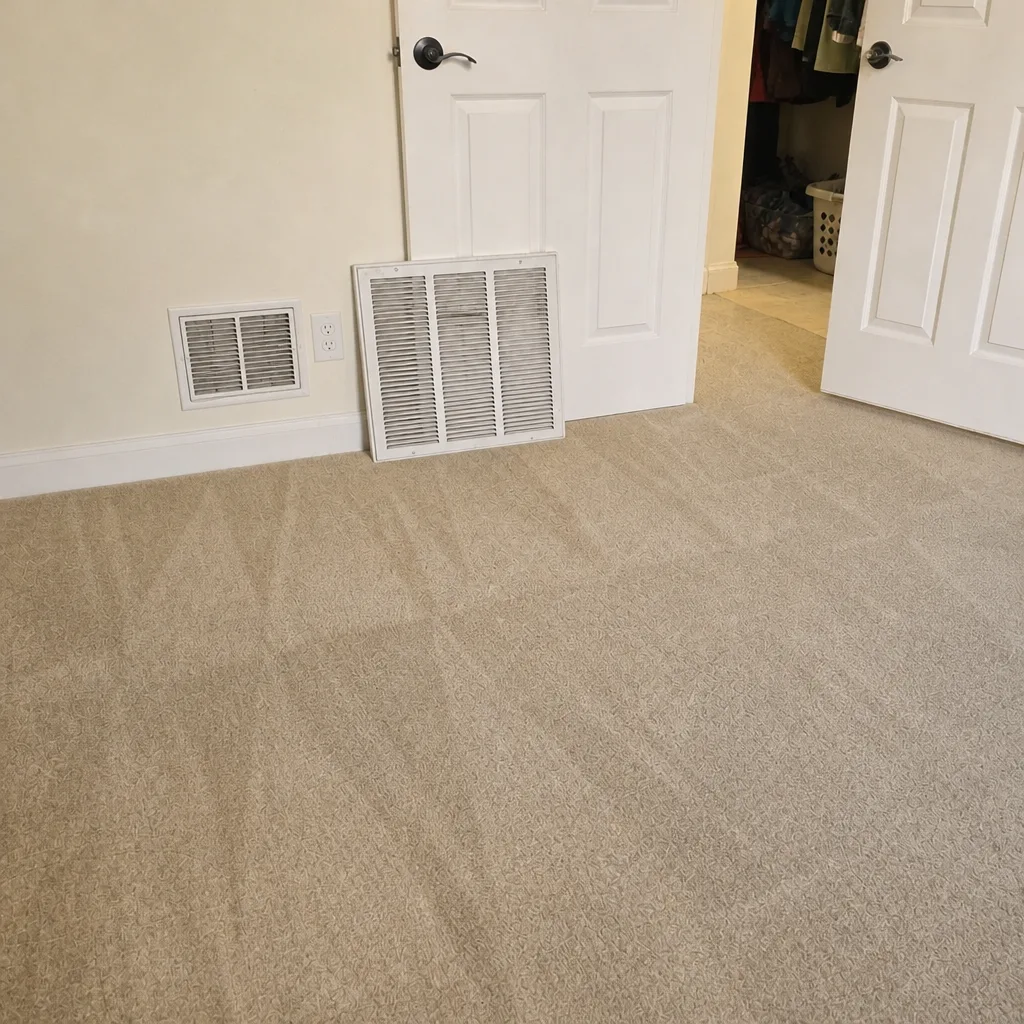
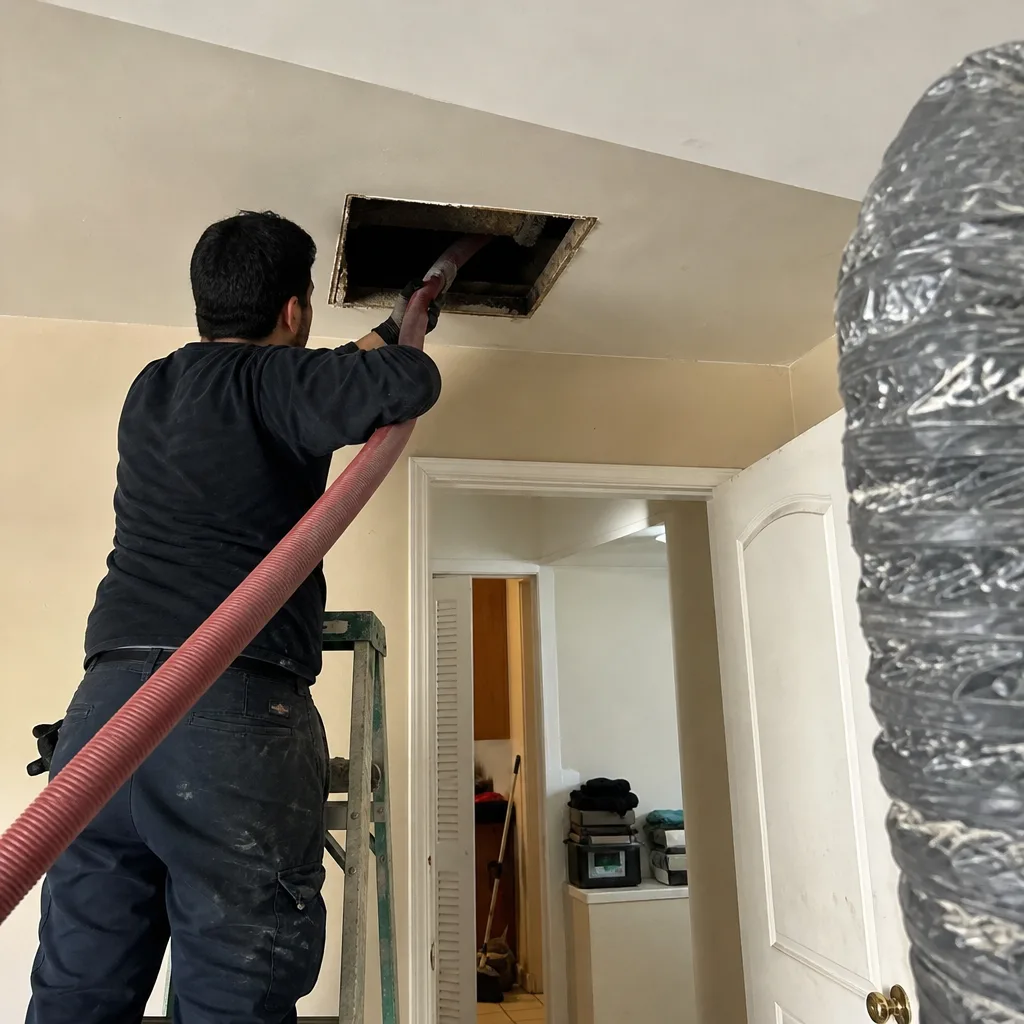
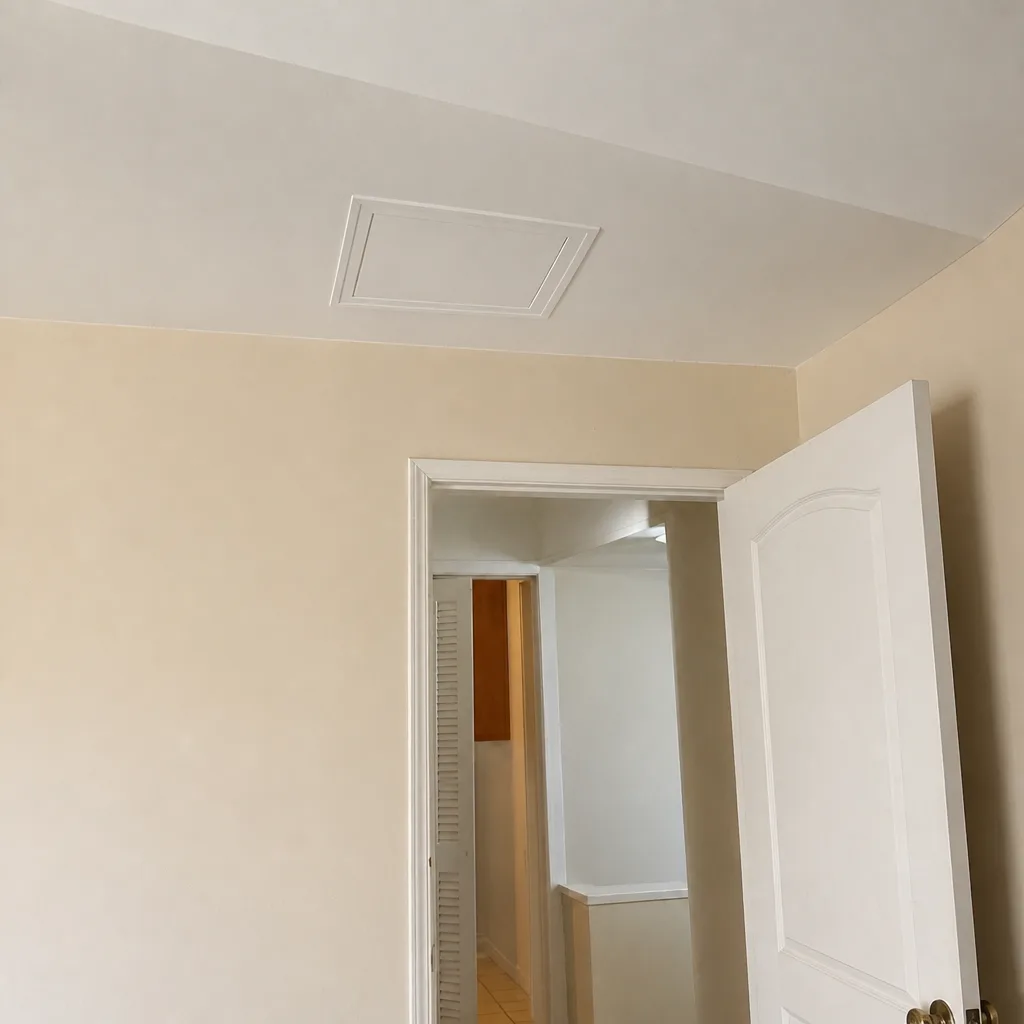
Whole-system duct and dryer vent check with before-and-after photos - you see exactly what came out of your vents
That "$99 whole-house special" is a bait ad - the real number appears once they are in your hallway, or the "clean" is a shop-vac at the register. We photograph the inside of your ducts before and after instead.
Air Duct Cleaning Maintenance Checklist for Chatsworth Homeowners
Most homeowners treat the return grille filter like a maintenance program. Swap it every 90 days, check the box, move on. But that filter is one data point, not a system of observation. A real maintenance checklist treats every register in the house, every return grille, and every accessible flex-duct connection in the attic as its own inspection station with its own failure mode. In Chatsworth, where the Santa Ana winds push fine dust through every gap in a home’s envelope and fire season prep means sealing things up tight, knowing what to look for between professional cleanings can save you from breathing years of accumulated debris. This guide gives you a room-by-room observation protocol that tells you when your ducts are fine, when they’re declining, and when it’s time to get a professional air duct cleaning on the calendar.
Styles & brands we work with
- Whole-home duct cleaning
- Dryer vent cleaning
- Camera inspection
- Sanitizing & deodorizing
Quick Answer
A duct maintenance checklist for Chatsworth homes means inspecting registers, return grilles, and visible duct connections twice a year: once in June before fire season’s worst air quality, and once in November or December after the first Santa Ana events have pushed grit through your system. Use a tissue or incense stick to compare airflow between rooms, look at the return filter face for streak patterns that suggest duct leaks, and log what you find by date so a contractor can see trends instead of a single snapshot. If you find uneven airflow, visible debris at registers, or a filter that darkens within three weeks, the system has moved past maintenance and needs professional attention.
Table of Contents
- Why Chatsworth Ducts Need a Different Checklist
- What You Need (No Specialty Tools Required)
- Register-by-Register Airflow Comparison
- Reading the Return Grille Filter Face
- Attic Flex-Duct Connection Inspection
- The Two-Season Chatsworth Checkpoint Calendar
- How to Log Observations Over Time
- Common Mistakes to Avoid
- When to Call a Professional
- Frequently Asked Questions
- The Bottom Line
Why Chatsworth Ducts Need a Different Checklist
Chatsworth sits in the northwest San Fernando Valley, and its air quality pattern is distinct from coastal Los Angeles or the basin’s central districts. The valley’s geography traps particulate matter during inversion months, and the Santa Ana winds that arrive in the fall don’t clear the air so much as move it violently, carrying fine dust from the high desert and pushing it against every exterior surface. Homes here run air conditioning for long stretches of the year, which means the HVAC system cycles more often than in coastal climates, pulling more air through the return ducts and depositing more particulate on interior surfaces. A checklist built for a generic Southern California house misses this: Chatsworth homeowners should time their inspections around the fire season buildup in late spring and the post-Santa Ana flush in late fall, because those are the two points where duct conditions change fastest.
The other reason a local checklist matters is architectural. A large share of Chatsworth homes use attic-mounted air handlers with flex-duct distribution runs. These runs snake through hot attic spaces where temperatures routinely exceed 120 degrees in summer. That heat accelerates the breakdown of plastic flex-duct liners and the tape or mastic at connection points. A maintenance checklist that ignores the attic is only checking half the system. The ducts you can see in the living space are the delivery points, but the failure modes are usually in the attic. We’ve seen systems where every register in the house looked fine from the living room side while the attic runs were sagging, disconnected, or leaking conditioned air directly into the hottest part of the home. The observations below are built around catching that early.
What You Need (No Specialty Tools Required)
This checklist works because it relies on your eyes, your nose, and one household item you already own. You don’t need an anemometer, a borescope, or any professional diagnostic gear. What you’re doing here is observing patterns over time so that when you do call a contractor, you can describe what changed and when, not just how things feel at that moment.
Here’s the full kit:
- A tissue or square of lightweight toilet paper: This is your airflow comparison tool. Something light enough to flutter in a weak current but stiff enough to react visibly to changes in velocity.
- An incense stick: For reading airflow direction at registers and detecting down-drafting or dead zones. Use one with the smoke visible but not overpowering. Keep it away from smoke detectors.
- A flashlight with a tight beam: For looking into register boots, return cavities, and attic spaces. A wide beam washes out shadows; a narrow one reveals depth.
- A phone camera: For logging filter faces and register interiors. Photos dated over time are the single most useful thing you can hand a contractor.
- A notebook or notes app: For dates, locations, and one-line observations. Trend data beats memory every time.
- A step ladder: For reaching ceiling registers and high return grilles without stretching or teetering.
None of this requires special training. It requires consistency. A single inspection tells you a little. The same inspection repeated four times over two years tells you a lot. That’s the difference between a checklist and a maintenance program.
Register-by-Register Airflow Comparison
This is the single most useful low-tech diagnostic a homeowner can perform, and almost nobody does it. The method is simple: with the system fan running, hold a tissue or single square of toilet paper at the same distance from each supply register in the home, moving room to room, and observe how strongly and consistently it flutters. You’re not measuring absolute airflow. You’re comparing one register against another in the same system at the same fan speed. That relative comparison is what reveals blockages, disconnections, and degrading flex runs.
Step-by-Step Airflow Check
- Set the thermostat fan to “On” so it runs continuously during the test. This removes the cycling variable.
- Close all exterior doors and windows. You want the system running as it normally does, not fighting an open envelope.
- Start at the register closest to the air handler. In most Chatsworth homes, that’s a ceiling register in a hallway or central living area near the attic unit.
- Hold the tissue six inches from the register face. Waving it around introduces variables. Let it hang from your fingers and observe.
- Note two things: how hard it moves, and whether it moves evenly across the register face or only on one side. Uneven deflection across a single register suggests a partly closed damper, a blockage in that register boot, or a kinked duct immediately above.
- Move to the next register and repeat. Go room by room in the same order every time you do this check, so you can compare trends across inspections.
- Compare the farthest rooms to the nearest ones. Some drop-off is normal, especially in long runs from an attic air handler to a far bedroom. But if the farthest room’s tissue barely moves while the nearest one’s flutters hard, that’s a pressure imbalance that suggests a blockage, a crushed flex run, or a duct that has separated from its register boot.
An incense stick adds a second dimension. Hold it near the register and watch the smoke plume. A healthy supply register pushes the smoke straight out and away. A register that diffuses smoke upward, or barely disturbs it, is struggling. On the return side, you’re checking the opposite: smoke near a return grille should be drawn into it smoothly. If smoke wanders or ignores the return entirely, that return may be disconnected from the main trunk, or the filter is so loaded the return air path is choked. Neither condition fixes itself. In our experience with Chatsworth homes, a return that pulls weakly is often paired with a filter that hasn’t been changed in months, or a return duct that has collapsed in the attic heat.
Reading the Return Grille Filter Face
The return grille filter is a diagnostic instrument if you know what to look for. Most people see a gray rectangle and swap it. But the pattern of that gray tells you where the air has been and what it carried. In Chatsworth specifically, the dust signature tends to be fine and silty, tan to pale brown, deposited evenly across the filter face during normal operation. When you see something different, that’s information.
Here are the patterns to look for, and what they typically mean:
- Even, light-gray coating across the entire face: Normal loading. This is what a filter looks like after doing its job for a month or two in Chatsworth’s typical valley dust environment.
- Streaks of heavier deposition along one edge or corner: This suggests air is being pulled through that section of the filter disproportionately. The cause could be a partially collapsed duct on the other side of the grille, or a filter that doesn’t seal properly in its track, so air bypasses the edges and loads the center. Both are fixable, but the filter face alone won’t tell you which one you have. Mark the streak direction and describe it to whoever looks at the ductwork.
- Bypass staining on the filter frame or the grille itself: If you see dust accumulated on the metal or plastic frame around the filter, air is moving around the filter, not through it. That means unfiltered air is entering the return cavity, pulling whatever is in the wall or ceiling cavity directly into the system. This is a duct leakage signal, not a filter problem. A tighter-fitting filter reduces it, but the underlying leak in the return plenum or duct connection is still there.
- Dark deposits or visible soot: In Chatsworth homes, this can trace to candles, fireplaces, or cooking without an exhaust fan. If you burn candles regularly, you’ll see it. If you don’t and the filter is darkening fast, it’s worth noting and mentioning to a pro.
- Filter darkens within three weeks: This is the threshold that tells you the system is loading faster than normal. It usually points to return leakage pulling attic or crawlspace air into the ductwork, or a duct run that has opened up and is ingesting unfiltered air somewhere upstream of the return grille. A correctly sealed system in Chatsworth should keep a standard filter serviceable for at least a month under normal occupancy.
Photograph the filter face every time you change it, before you throw it out. Date the photo. After a year, you’ll have a visual record of what your system is pulling out of the air, and whether that pattern is stable, improving, or degrading. That’s the kind of trend data a contractor can actually work with, far more than a verbal “it seems dusty.”
Attic Flex-Duct Connection Inspection
If you’re comfortable in an attic and can move safely on the joists or a walking deck, a once-a-year visual inspection of the duct connections up there is the highest-value check on this list. Chatsworth summers push attic temperatures into the 120s and beyond. That sustained heat, repeated over years, is what kills flex-duct liner, breaks down duct tape adhesive, and causes plastic collars to warp. Most duct failures in this area don’t happen in the living space; they happen in the attic, and the first sign is usually the utility bill climbing or one room that never quite cools down.
Here are the connection points that show wear first, and what to look for at each:
- The plenum connections at the air handler: The metal box on top of or beside the furnace or coil has several round collars where flex ducts attach. Check each collar where the inner plastic tube meets the metal. Look for the duct sagging away, gaps between the inner liner and the collar, or zip ties that have snapped from heat aging. A duct that’s slipped off its collar is dumping conditioned air into the attic, and that’s the whole system working for the roof instead of the bedrooms.
- The wye or tee fittings mid-run: Where a main duct splits into branches, the connection points are under stress from the weight of the downstream run. If the main run isn’t supported properly with hanger strapping, the branch can pull loose over time. Look for a visible gap or a duct that angles sharply downward just past the fitting.
- The register boots: Where the flex duct meets the sheet-metal boot that feeds each ceiling register. The inner liner should be pulled over the boot collar and fastened, not just pushed against it. In our experience, this is the most common failure point in Chatsworth attic installations, because the boot is the hottest metal in the run and the connection there is often made with tape that degrades first.
- Hanger strapping and support: Flex ducts should rest every four to five feet on strapping at least 1.5 inches wide. Narrow strapping or over-tightened plastic ties cut into the insulation jacket. A duct resting directly on the attic floor or draped over a joist has kinks, and kinks are blockages. Walk the length of each run if you can, and note any section that’s been compressed by stored items or bent at a sharp angle.
- Insulation jacket tears: The outer sleeve on an insulated flex duct keeps the temperature inside contained. If the jacket is torn, shredded, or has been chewed by rodents, the duct sweats in summer and loses its insulation value. In an attic that already hits 120 degrees, a torn jacket is working against the system constantly.
You don’t need to repair any of this yourself. The inspection is the point. Note what you see, take photos if light allows, and if multiple connection points show gaps, tears, or sagging, the ducts have moved from a cleaning question to a repair question. Duct Cleaning Chatsworth handles both: the cleaning side and air duct repair. One crew looking at the whole system means you don’t get the classic buck-passing of a cleaner saying “that’s a repair issue” and a repairer saying “the ducts just need cleaning.”
The Two-Season Chatsworth Checkpoint Calendar
The timing of your inspections matters as much as the content. Chatsworth’s air quality has two distinct pressure points each year: the pre-fire-season window in June, and the post-Santa Ana window in November or December. These aren’t arbitrary dates. They line up with when the air moving through your ducts is at its worst in different ways.
June: Fire Season Preparation
By June, the valley’s heat has begun in earnest and the vegetation on the surrounding hillsides is at its driest. Fire season is a fact of life in this part of the San Fernando Valley, and wildfire smoke particles are small enough to pass through most filters and settle deep in the ductwork. The June inspection is your chance to confirm the system is clean and well-sealed before the worst air quality months arrive. If you’re going to schedule a professional air duct cleaning, scheduling it in late May or early June means the system is at its cleanest when it’s working hardest. Clean ducts don’t reduce wildfire smoke entry, but they remove the accumulated debris that smoke particles bind to, and they give the system less resistance when it’s running long hours.
November – December: Post-Santa Ana Recovery
The Santa Ana winds typically begin in October and run through the fall. They drive dust, ash from earlier fires, and fine grit into every exterior gap. That’s when we see filters loading fastest and duct interiors picking up a fresh layer of the kind of fine particulate that clings to fan blowers and return paths. The November or December inspection closes the loop: check the filter face, check airflow at the farthest registers, and if anything changed dramatically from your June baseline, that’s your signal. If the system accumulated more than you expected in a single season, a professional cleaning and a check of the duct seals for air intrusion is warranted. If it held steady, your maintenance protocol is working and you can step back until next June.
Timing the checks this way also lets you plan for professional work in advance. You’re not calling a contractor in a panic during the first heat wave when everyone else is calling. You’re calling in May or October, when the system has predictable capacity and you’ve got clean trend data to explain what you’re seeing. That’s a much more useful conversation than “the house just feels dusty.”
How to Log Observations Over Time
The difference between a homeowner who catches duct problems early and one who doesn’t is rarely effort. It’s record-keeping. A single observation is a snapshot; the same observation repeated across two years is a trend line, and trend lines are what professionals can act on. Here’s the logging method that works, and it takes about five minutes per inspection.
The log entry needs four components: the date, the register or return being checked, the observation, and any change from the previous entry. A notebook page per inspection date works fine. A notes app with a template works better, because you can copy the template and fill it in. Here’s a sample of what a complete log entry looks like:
- Date and season: “June 14, fire season prep.” This tells you which checkpoint it was.
- Filter face observation: “Filter changed. Even light-gray loading after 6 weeks. No streaks, no bypass staining on frame. Previous filter also even.”
- Register airflow comparison: “Tissue test: hall register strong and even. Primary bedroom strong but flutter slightly weaker than June 2024. Front bedroom unchanged. Bathroom register weak, as before.”
- Attic connection check: “Inspected plenum and four visible flex runs. All connections tight. One run near the crawl access has insulation jacket starting to tear. Photo taken.”
- Action items: “None immediate. Watch primary bedroom next inspection. Note jacket tear for next pro visit.”
That’s the whole discipline. You’re not trying to be an expert. You’re building a record that lets an expert see what changed, when, and how fast. When a contractor reads a log like the one above, they know their time won’t be wasted looking at things that aren’t problems, and they can focus on the one jacket tear and the slightly weaker bedroom register. That’s the entire goal.
One more point: store the photos with the dates. A folder on your phone organized by year and season is fine. When you call for an estimate, mention the log and the photos. It changes the conversation from “what would it cost to clean my ducts” to “here’s what my system has been doing for the past 18 months, can you look at these three things.” That’s what a homeowner who knows their system sounds like.
Common Mistakes to Avoid
- Treating the filter like a complete maintenance program. Changing the filter on schedule is good, but it’s one component. A filter does nothing to address leaks at the return plenum, crushed flex runs, or disconnected register boots. The checklist above exists because filters don’t catch everything.
- Checking airflow with your hand. Your palm is a terrible airflow instrument. It detects temperature faster than velocity, and it’s not repeatable. Use the tissue or incense method so the observation is consistent across months and years.
- Ignoring the attic because it’s hot or difficult. The attic is where Chatsworth duct failures happen first. A homeowner who inspects only the living space is inspecting the finished side of the system while the unfinished side is where problems live. If you can’t safely access the attic yourself, include it in the ask when you schedule a professional.
- Only checking when something feels wrong. By the time a room feels consistently too hot or a smell is noticeable, the underlying condition has been developing for months. The two-season checkpoint calendar exists to catch changes between checkpoints, not at the moment of failure.
- Throwing away the filter without looking at it. The filter face carries a record of return-side conditions every month. Pull it out, turn it toward a light, photograph it, and log it. That thirty seconds of observation is more diagnostic value than anything else you’ll do at the return grille.
- Deciding it’s “just dust” and moving on. Dust is the symptom, not the condition. A system that loads a filter in three weeks, or a far register that barely moves a tissue, is telling you something specific about the ductwork. Write it down instead of wiping it away. The log is what turns “just dust” into actionable data.
When to Call a Professional
Most of the observations on this checklist are things you log, not things you fix. But some findings mean the window for observation has closed and it’s time to get a professional involved. Call a duct specialist if the register-by-register airflow test shows a far room that’s dramatically weaker than the nearest one, especially if the change appeared between checkpoints. Call if the return filter face shows consistent streak loading or bypass staining, because that points to leakage that cleaning alone won’t fix. Call if you find a flex duct in the attic that’s visibly disconnected, sagging, or kinked, or if any connection point shows a gap you didn’t see before. Call if the filter darkens within three weeks of a change, or if airflow in a room changes noticeably in a single season. And call if you’ve logged two or more consecutive checkpoints where the same register kept getting weaker; that’s a trend, and trends don’t self-correct. Duct Cleaning Chatsworth offers free estimates in Chatsworth. Call (888) 494-4745. We answer 24/7. Fast dispatch from 7am to 7pm, Sunday through Friday.
Frequently Asked Questions
For most Chatsworth homes, professional air duct cleaning is warranted every three to five years, but the real answer depends on what your checklist surfaces. Homes near open hillsides or with long exposure to Santa Ana dust sometimes need it more often, especially if the filter face shows fast loading or the airflow comparison reveals blockages. Use the two-season checklist to decide: if the system holds steady and registers breathe evenly, you can extend the interval. If it degrades fast between checkpoints, move the cleaning up. Call (888) 494-4745 for a conversation about your specific system and what you’ve observed.
The price difference usually comes down to equipment and scope. A low bid often means a shop vac attached to a register, which can’t reach most of the duct interior and can’t create the negative pressure needed to pull debris out of the main trunk. Professional systems, like the Rotobrush and Nikro equipment Duct Cleaning Chatsworth runs, physically agitate and extract debris along the full duct run. The cheaper quote also may not include inspection of the attic connections or return plenum, which is where the real problems live. Ask what equipment they use and whether the scope includes examining the connections. A bid that’s significantly lower is usually not for the same job.
Ask for before-and-after photos of your own ductwork. A professional who uses commercial extraction equipment can document what was inside the ducts before the work and what they looked like after. That’s your proof. You can also ask what they found at the connection points in the attic, not just what came out of the registers. If the answer is vague or they don’t have photos, the job probably wasn’t as thorough as it should have been. Duct Cleaning Chatsworth has the equipment to document the work in your specific system, not a stock photo.
Yes, and more than most people expect. The Santa Ana winds drive fine, dry particulate through the valley at sustained speeds for days at a time. That dust enters the home through windows, doors, and any unsealed gaps, and much of it gets pulled into the return air stream and deposited in the ductwork. The November – December checkpoint on the calendar exists specifically because of this. That’s the most common time for Chatsworth filters to load fast and for the duct interiors to pick up a fresh layer of fine grit. It’s normal, and it’s why the post-Santa Ana inspection is important.
You can inspect them if you can move safely on the joists or a walking deck, wear a respirator or at minimum a dust mask, and avoid stepping on the ducts or the drywall. The inspection itself is visual: look at connections, strapping, and jackets. It doesn’t require touching anything. If the attic is tight, dark, or you’re not steady on the joists, leave it to a professional who does this every week. This inspection is about observing and logging, not about making repairs. Your safety matters more than the checklist.
Yes, dryer vent cleaning is one of the three services Duct Cleaning Chatsworth offers, alongside air duct cleaning and air duct repair. It’s a separate safety concern from the HVAC ducts, and the checklist for dryer vents has its own logic and timing. A clogged dryer vent is a fire hazard, not a convenience issue, and in Chatsworth’s dry climate the lint load in a dryer run builds up faster than many homeowners expect. We treat it as a discrete service because that’s what it is.
The Bottom Line
A maintenance checklist is only as good as the observations it produces. The filter in the return grille is not the whole program, not even close. The real work is in comparing one register against another, reading the filter face for patterns, looking at the attic connections once a year, and writing everything down in a log that builds over time. For Chatsworth homeowners, that discipline is worth more than any product or gadget. It tells you when your system is healthy and gives you early warning when it’s not. And when the trend line bends the wrong way, you call a specialist who uses the right equipment, like the Rotobrush and Nikro systems we run at Duct Cleaning Chatsworth, and you hand them the log so they don’t waste time looking for what you already know. The ducts in your home move the air you breathe every day. You should know more about them than the person you hire, and now you have the protocol to do it.
Written by the team at Duct Cleaning Chatsworth, serving Chatsworth since 2017.
See the difference
 Before
 After
 Before
 After
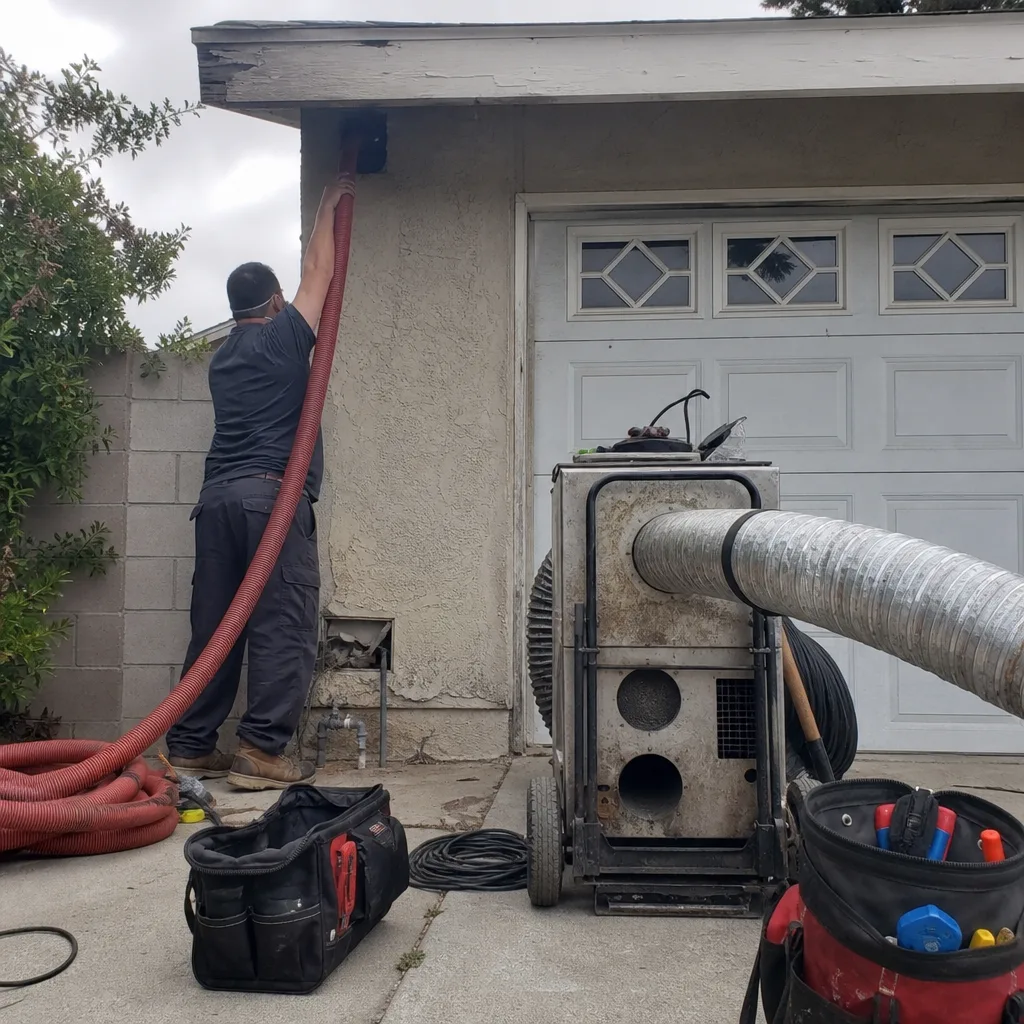 Before
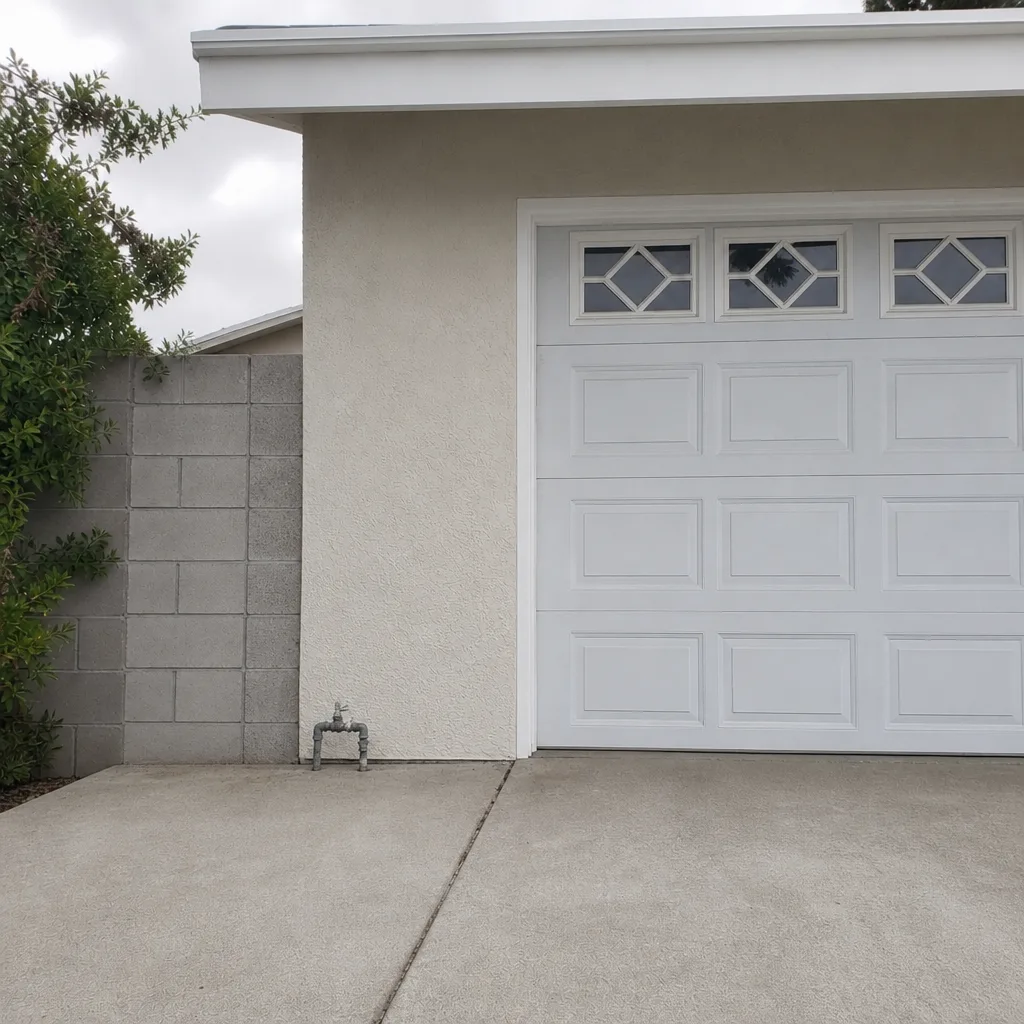 After